
As a data scientist or developer, you probably use Jupyter Notebooks to streamline your workflow and interactively run your code. To manage different projects and dependencies, you likely rely on Conda environments. But what if you want to use Jupyter Notebooks with your custom Conda environments? In this blog post, we’ll walk you through a step-by-step guide to make your Conda environments accessible in Jupyter Notebooks launched from the base environment.
Step 1: Create and Activate a New Conda Environment
First, create a new Conda environment (if you haven’t already) and activate it. Replace myenv with your desired environment name, and 3.8 with the desired Python version.
conda create -n myenv python=3.8
conda activate myenv
Step 2: Install Necessary Packages in the New Environment
Next, install the ipykernel package in your new environment. This package allows Jupyter to communicate with the Python kernel running in your Conda environment.
conda install ipykernel
Step 3: Create a New Kernel for Jupyter
Now, create a new kernel for Jupyter to recognize your Conda environment. Replace myenv with the name of your environment.
python -m ipykernel install --user --name=myenv
Step 4: Deactivate the Environment and Return to the Base Environment
After creating the new kernel, deactivate the current environment and return to the base environment. bash
conda deactivate
Step 5: Install Jupyter in the Base Environment and Launch It
Ensure that Jupyter is installed in your base environment (if you haven’t already) and launch it.
conda install jupyter
jupyter notebook
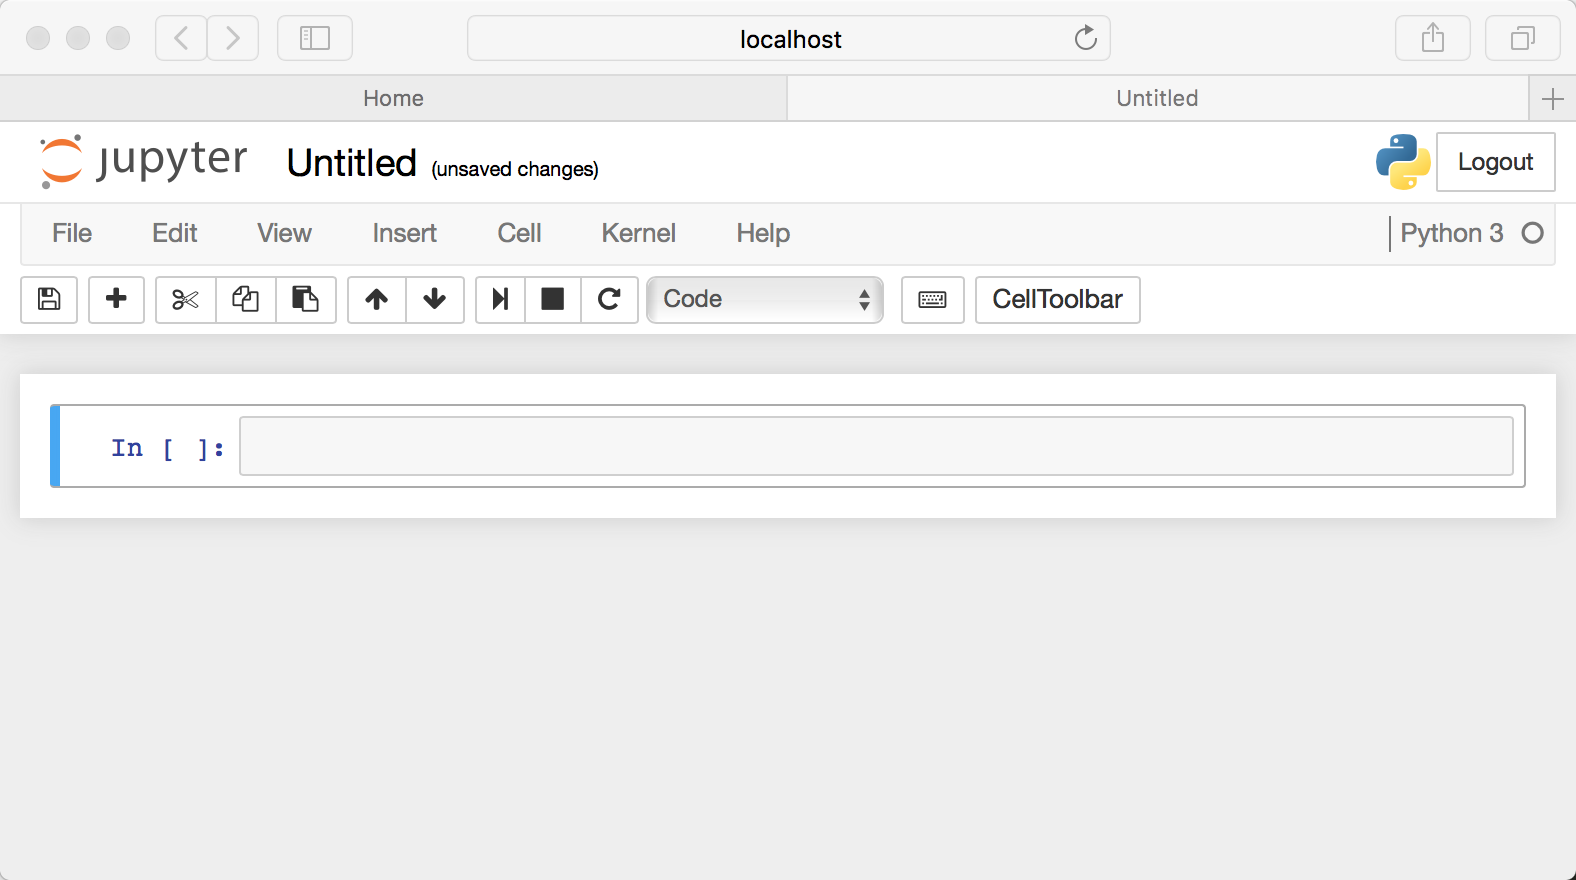
Step 6: Choose Your Conda Environment Kernel in Jupyter Notebooks
With the new kernel available, you can now select your Conda environment from the Kernel menu or the top right corner in the Jupyter Notebook interface when creating a new notebook or opening an existing one.
Step 7: (Optional) Remove a Kernel from Jupyter Notebook
If you want to remove a kernel from Jupyter Notebook, run the following command in the base environment. Replace myenv with the name of the kernel you want to remove.
jupyter kernelspec remove myenv
Conclusion
By following these steps, you can effortlessly access your Conda environments in Jupyter Notebooks launched from the base environment. This allows for seamless switching between environments and makes your workflow more efficient. Enjoy the flexibility and convenience of working with multiple Conda environments in your Jupyter Notebooks!
hello!,I like your writing very so much! proportion we keep up a correspondence extra approximately your post on AOL? I need an expert in this space to unravel my problem. May be that is you! Taking a look forward to see you.
I appreciate your dedication.